

Create your first scenario with AI
AI gives you a starting point for your scenario. You bring the learning goal, review the decisions and outcomes, and make the draft your own.
In this guide, you’ll start First day as a team leader: a branching scenario in which a colleague raises a workload concern. You’ll describe the situation, open the resulting draft, make a small edit and preview a learner’s path. Your draft may have different wording, steps or branches from the documentation example.
Before you begin
Section titled “Before you begin”Sign in to your Yo Scenario account. Scenario generation must be available for your account, with enough of the allowance shown to make the request. Access and available options can differ between accounts. If access or pricing cannot be confirmed, follow the message on screen or contact support before generating.
Prefer to write everything yourself? Create a scenario from scratch covers the manual alternative using the same example.
1. Open Generate with AI
Section titled “1. Open Generate with AI”From your scenario dashboard, select Generate with AI. On an empty dashboard, this is one of the starting options; on a dashboard with existing scenarios, it appears alongside New Scenario.
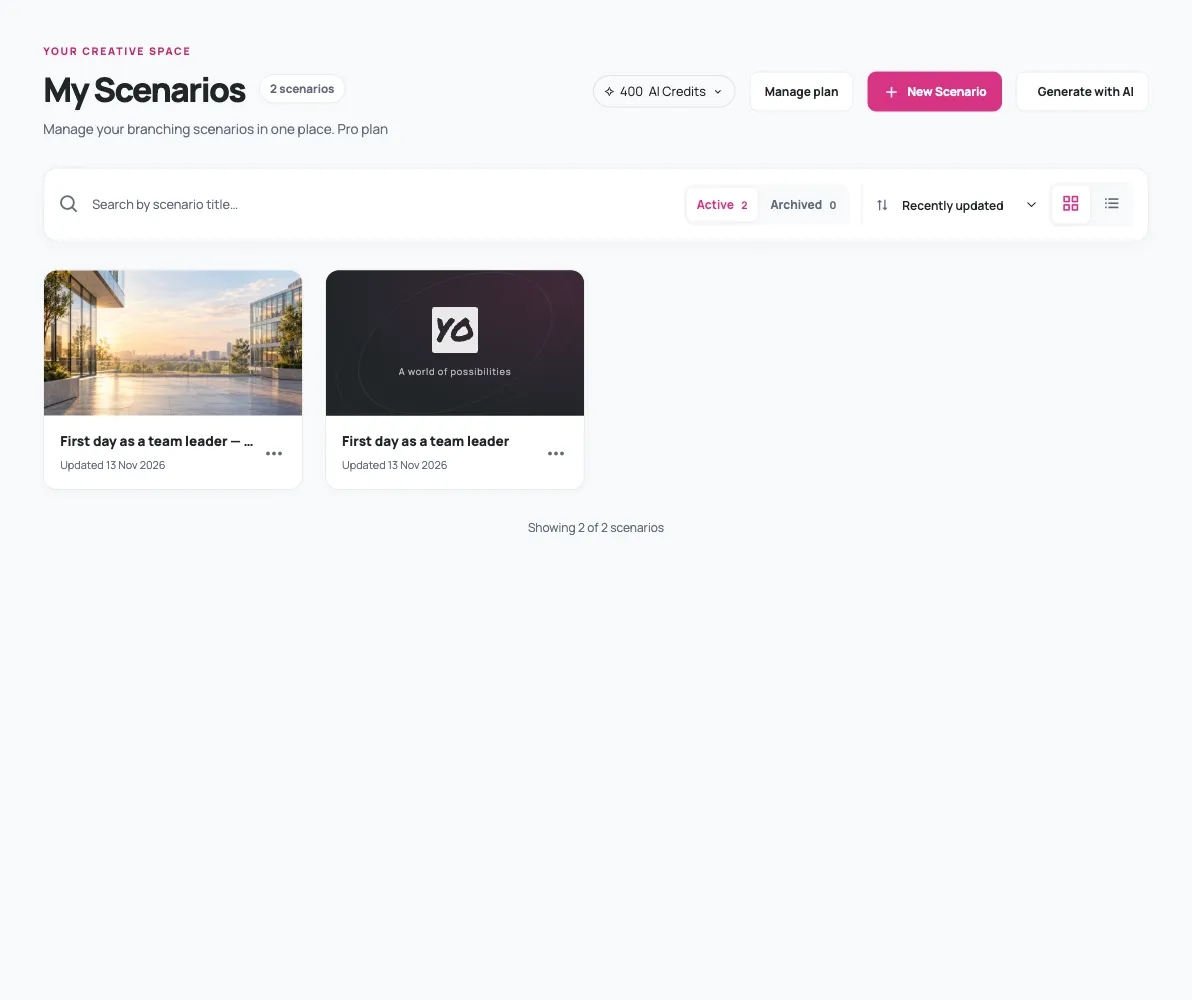
The page is titled Generate a scenario. If it cannot confirm your access, use Check access again once your sign-in or connection is resolved.
2. Describe the learning situation
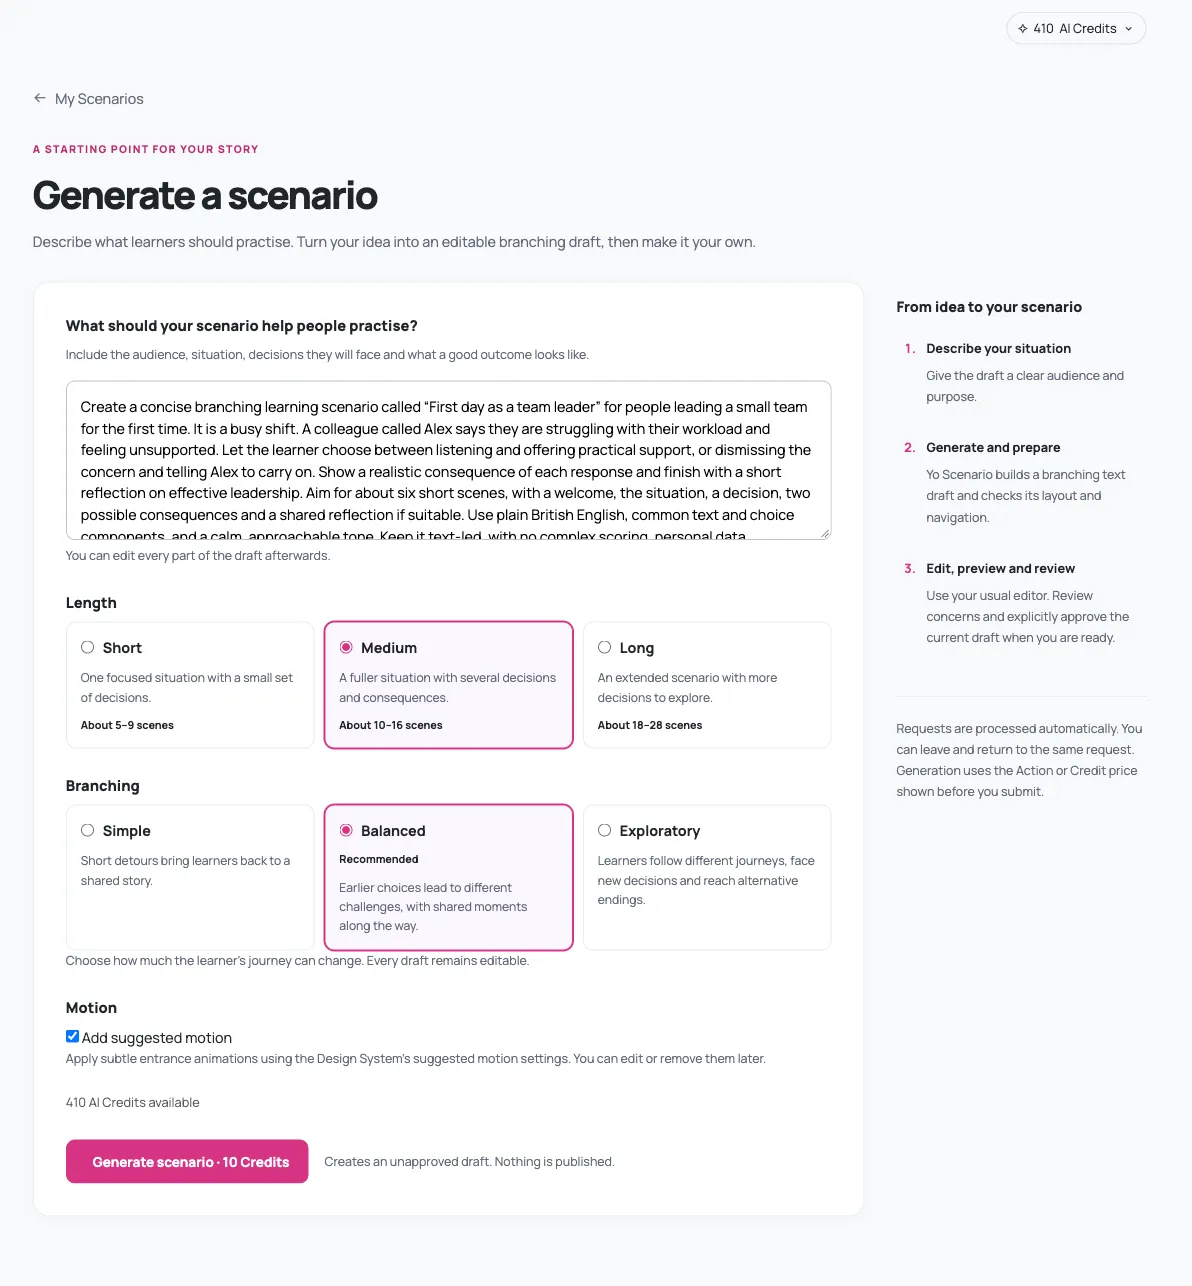
Section titled “2. Describe the learning situation”In What should your scenario help people practise?, describe the audience, situation, decisions and intended learning. You can use this brief:
Create a concise branching learning scenario called “First day as a team leader” for people leading a small team for the first time. It is a busy shift. A colleague called Alex says they are struggling with their workload and feeling unsupported. Let the learner choose between listening and offering practical support, or dismissing the concern and telling Alex to carry on. Show a realistic consequence of each response and finish with a short reflection on effective leadership. Aim for about six short scenes, with a welcome, the situation, a decision, two possible consequences and a shared reflection if suitable. Use plain British English, common text and choice components, and a calm, approachable tone. Keep it text-led, with no complex scoring, personal data collection, video or extra subplots. Leave images and narration for later.
A clear brief helps focus the draft. It does not guarantee an exact number of steps, a particular layout or identical results each time.
Start from a document instead
Section titled “Start from a document instead”If Start with a document (optional) appears above the prompt, you can use a policy, procedure or brief as source material. Choose Choose document, then select one file. Only upload material you are authorised to share for AI processing, including any confidential or personal information it contains.
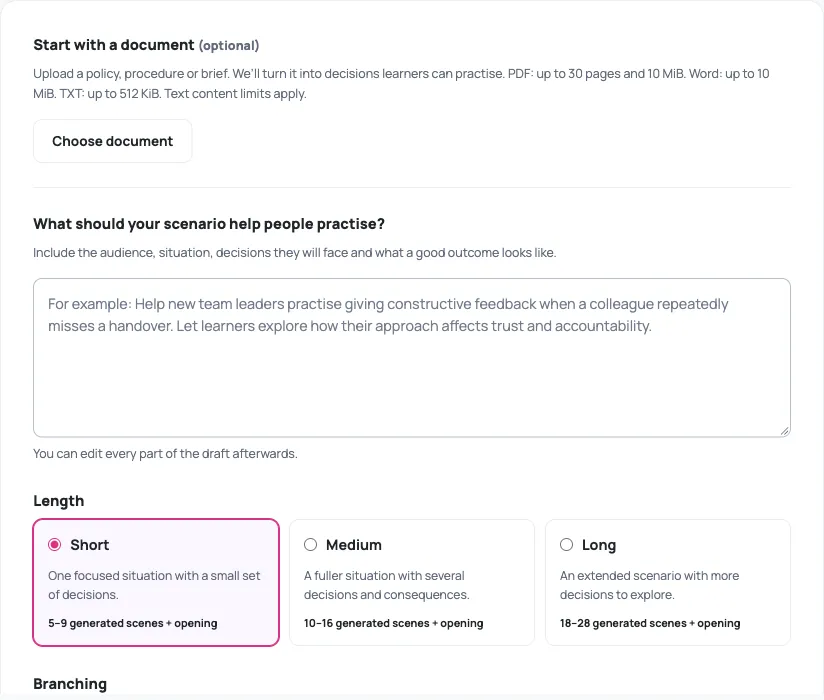
| File type | Limit |
|---|---|
PDF (.pdf) |
10 MiB and up to 30 pages |
Word (.docx) |
10 MiB; older .doc files are not supported |
Plain text (.txt) |
512 KiB; non-empty UTF-8 text |
Word and TXT content is also limited to 100,000 characters. Word files are checked for excessive expanded size or complexity; encrypted or invalid documents are not supported. Further input limits apply to the document together with your instructions and generation settings, so a file within the upload limits may still be too long or complex. Use the relevant section or a shorter source if the form asks you to.
Wait for uploading and preparation to finish and for Ready to use. Instructions are optional. The prompt becomes Add instructions (optional). You can leave it empty when a ready document is selected, or add an audience, learning goal or focus. Without a document, a written brief is required.
For a synthetic document about Alex’s workload concern, you could add: Help new team leaders practise listening to a workload concern. Use plain British English and the procedure in the document. The original prompt-only example above works without uploading anything.
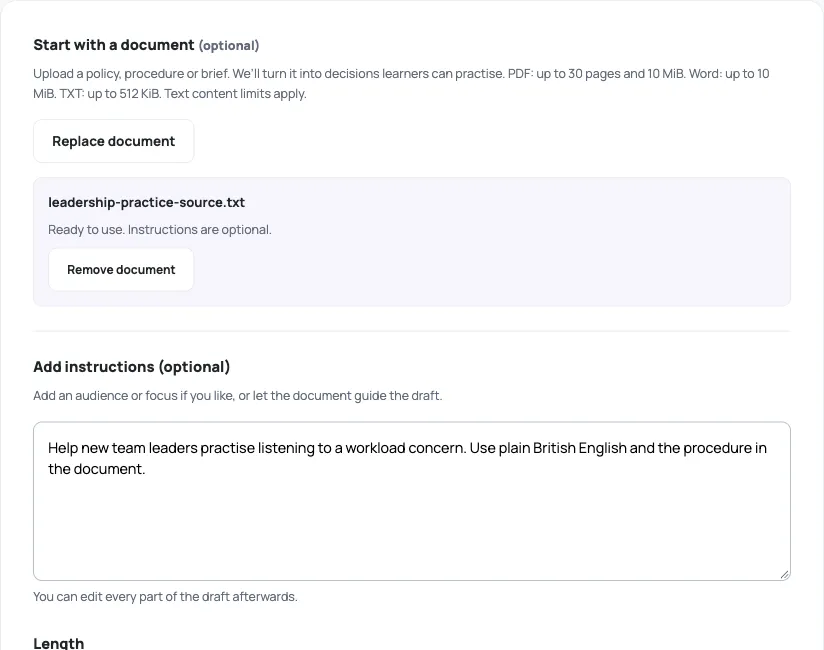
The document supplies reference material; your instructions guide the emphasis, while Length, available Branching options and Add suggested motion still shape the draft. Generation aims to turn relevant source material into decisions and consequences rather than reproduce every page. Uploading alone does not generate or publish a scenario. Check the current quote before submitting; it can depend on the document and options.
Before submitting, use Replace document to choose another file, or Remove document to return to the prompt-only form. Replacement first removes the previous selection. Your written instructions remain. If Check upload appears after an uncertain upload, use it to check the same upload before trying again. Uploads are temporary: if a document expires or is unavailable, remove it and upload it again. Once a request is saved, follow that request rather than trying to replace its source.
Treat this as a source upload for generation, not a permanent Media Library asset or a learner attachment. When reviewing the draft, compare it with the original document: check requirements, exceptions and consequences, and correct omissions or invented details before approving it.
3. Choose the available options
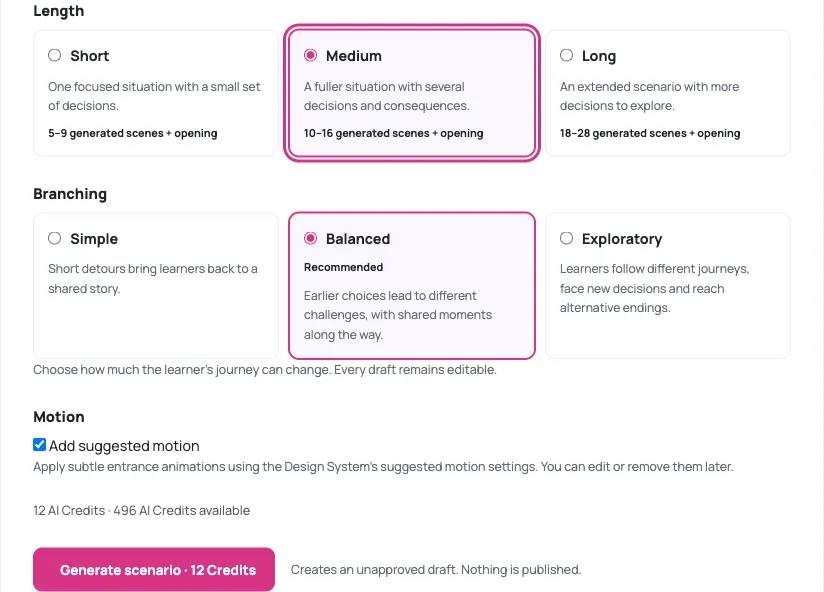
Section titled “3. Choose the available options”Under Length, choose Medium to explore the situation through several decisions and consequences.
When Branching is available, choose Balanced for this example. It lets earlier choices lead to different challenges, with shared moments along the way. Add suggested motion is optional; you can adjust it later.
We kept Add suggested motion selected for the documentation example. The Medium result had 14 steps and three decision points; your result may differ.
4. Check your allowance and start
Section titled “4. Check your allowance and start”Read the allowance information and the price attached to Generate scenario before selecting it. Depending on your account, the UI may show AI Credits or AI Actions available, with a cost in Credits or Actions on the button. Amounts depend on the current account and request; use the displayed quote rather than an example price.
An amount held for pending requests is not confirmed spending. If the price or allowance is unavailable, or your account is not eligible, resolve that message before continuing.
Select Generate scenario once. The request creates a draft; it does not publish your scenario.
5. Follow the saved request
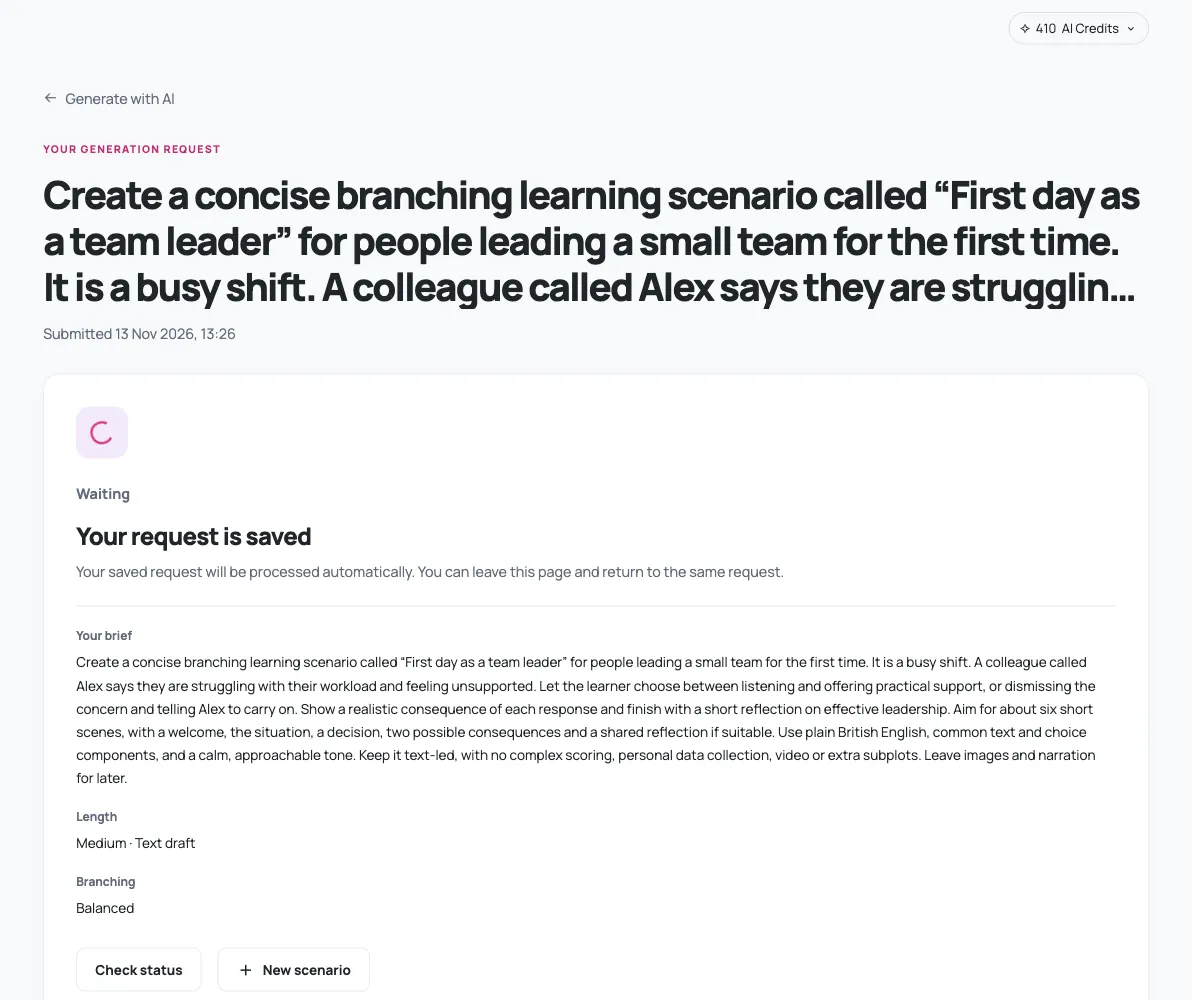
Section titled “5. Follow the saved request”The status page shows your brief and the latest status. You may see Waiting, Generating, Checking draft or Draft ready as the request progresses. These are stages rather than a percentage or a guaranteed completion time.
Use Check status to check the same request. To return later, open its entry under Recent generations on the generation page using the same account and browser.
If the request is pending or its outcome is uncertain, reopen that entry and check it rather than submitting another. Use Check acceptance if the entry shows Acceptance unconfirmed. Contact support if its result still cannot be confirmed.
6. Open and review the draft
Section titled “6. Open and review the draft”When Open editable draft is available, select it. Inspect the steps and follow their connections. Check that Alex’s concern stays consistent, both responses have believable consequences and the ending supports your learning objective.
Open Issues, Review or Review sign-off when shown. Read each finding and inspect the relevant content. Complete and Ignore record your judgement; they do not replace reading or testing the scenario. After changes, open Advanced details and use Recheck saved scenario. Wait for the check to finish, then review any findings that reopen because their evidence has changed.
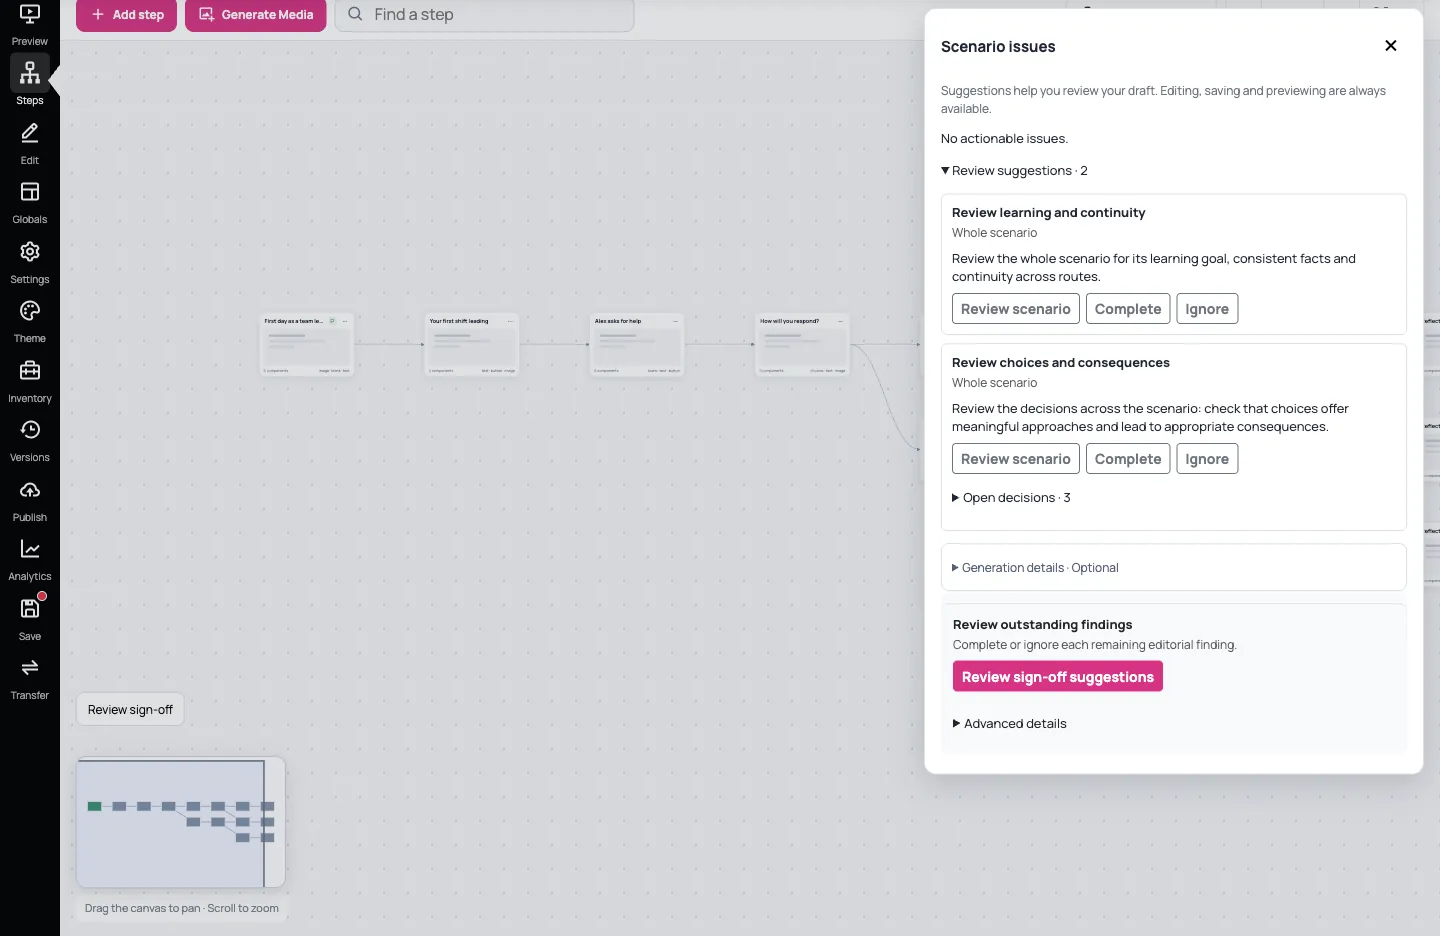
When the review offers sign-off and you have checked the whole current scenario, select I reviewed the whole current scenario. and Approve current version. If approval is unavailable, follow the review guidance first. Refresh the review and confirm Approved and current. Approval is distinct from publishing.
7. Make a small edit
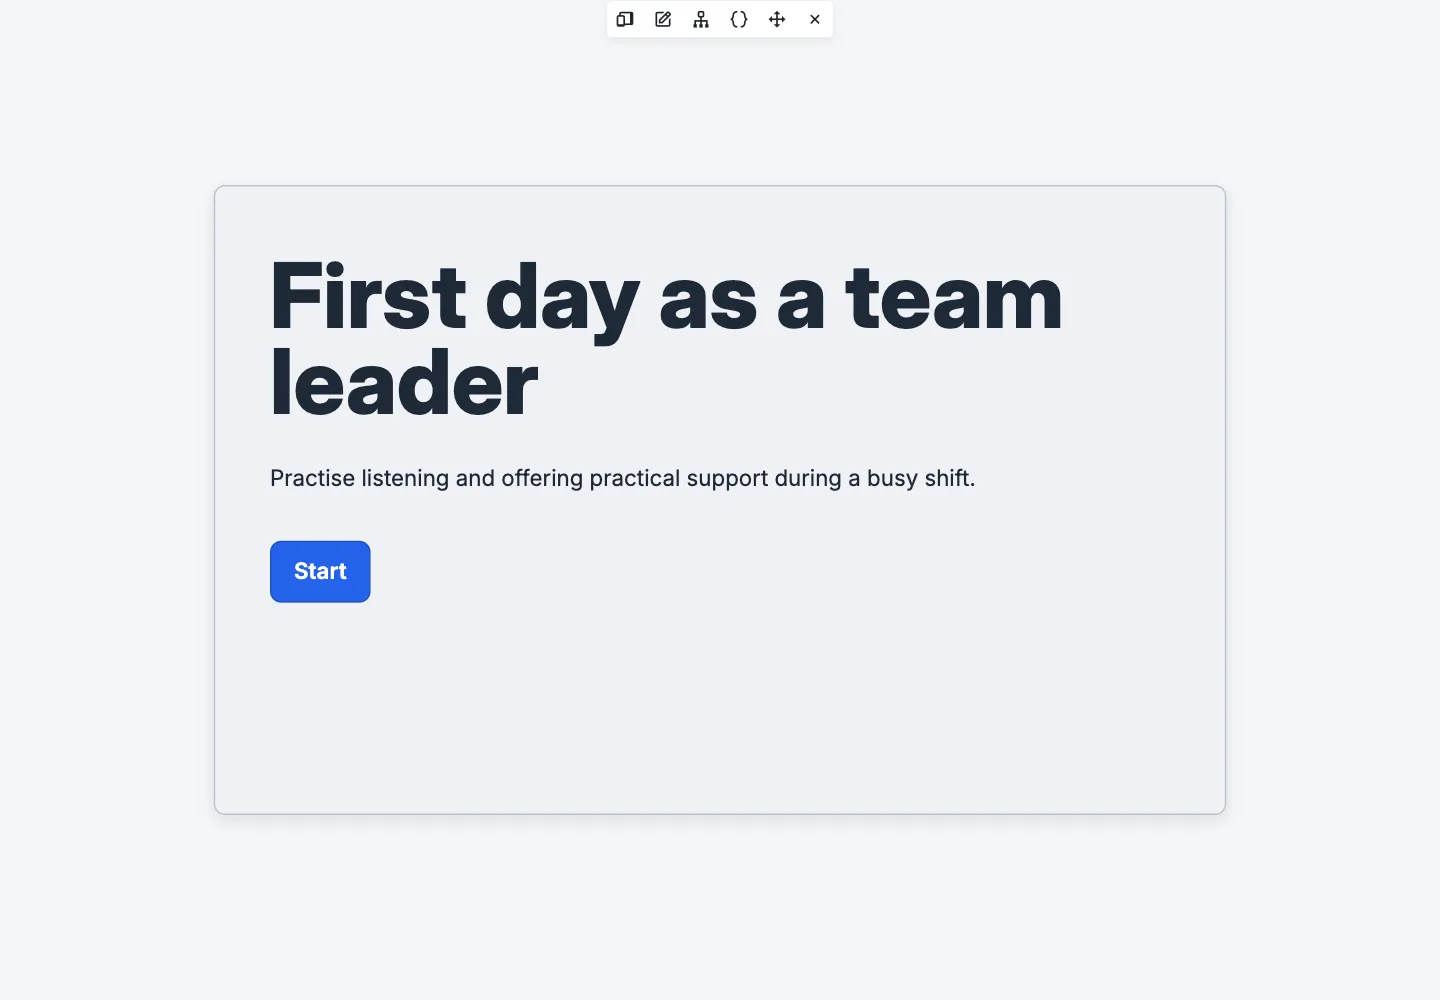
Section titled “7. Make a small edit”Select a step, then choose Edit step in its details panel. Double-click a text component on the canvas to edit its wording. For this example, change the opening subtitle to Practise listening and offering practical support during a busy shift. Select outside the text to finish, then use Save.
Check that your edit still fits and keeps Alex’s situation clear. Changing a component’s name in the inspector is not the same as changing the text learners read. After saving, reopen Review sign-off, expand Advanced details and select Recheck saved scenario. Wait for the check to finish, review any reopened findings, then confirm the whole current scenario and select Approve current version again. Refresh to verify Approved and current. An earlier sign-off is not a substitute for checking the version you will publish.
8. Preview the learner’s experience
Section titled “8. Preview the learner’s experience”From the steps overview, choose Preview from here on the opening step. Follow one response to its consequence and reflection. Return and test the other response too, then check the text at a smaller screen size using Screen size.
A preview lets you check the draft. It is not a published share link, and a successful technical check does not confirm that the content is accurate or suitable for your learners.
What to do next
Section titled “What to do next”Next, arrange a step with layouts and components, edit component content and appearance or customise and reuse a theme. Then add or change decision connections, try a component interaction and test every path before sharing.
Generate Media provides Visual Identity, Scene Images and Audio workflows where available. They are separate follow-on tasks. Review the allowance and quote and each result: Scene Images can apply a result automatically, while component generation can save a file to the library before you choose to add it. Then publish a checked version.