

Upload and reuse media
Keep useful files in your Media Library, then select them wherever you need them. Reusing a library asset avoids uploading another copy for every step.
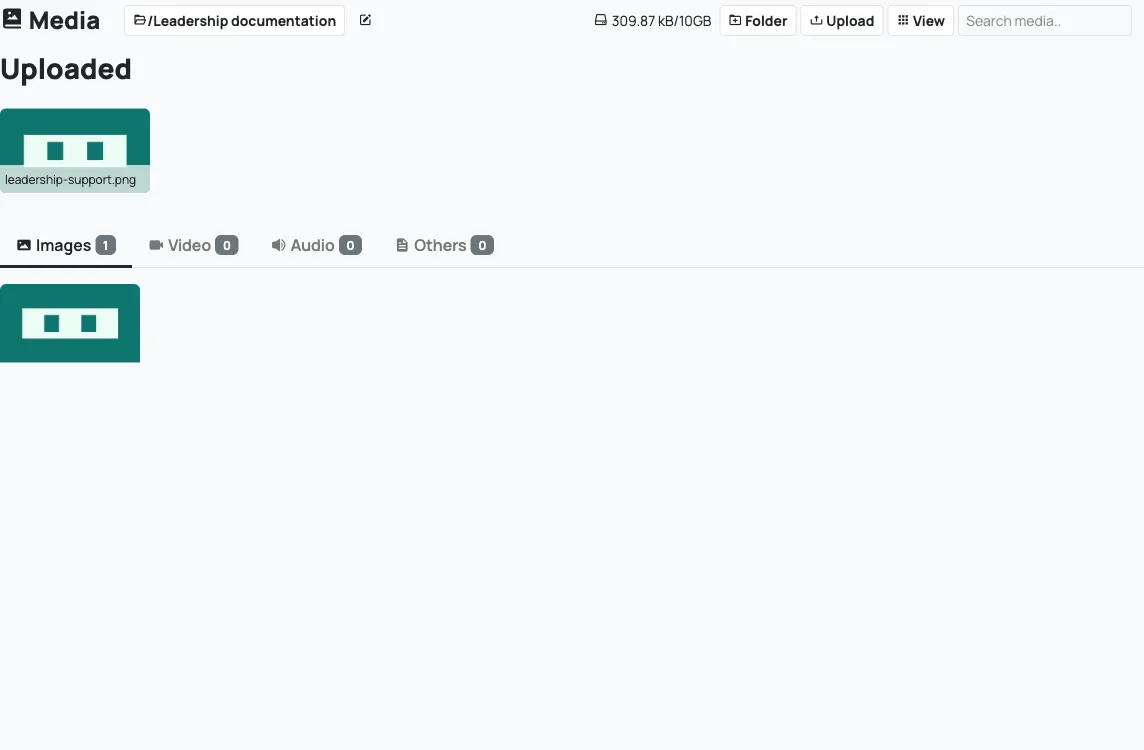
This example uses a small original PNG in a Leadership documentation folder. Practise on a separate scenario copy and use files you own or have permission to use.
1. Open the Media Library
Section titled “1. Open the Media Library”From the scenario dashboard, select Media Library in the sidebar. Inside an editor, the top navigation calls this Media.
Use the folder selector beside the page heading to browse a folder or return to /. Images, Video and Audio filter the files shown. A folder can look empty when the selected file type has no matching assets.
2. Choose a folder and upload
Section titled “2. Choose a folder and upload”- Select Folder to create a folder, enter its name and select Add Folder.
- Select Upload.
- Set Upload Folder to the folder you want. Check this before choosing files.
- Select Browse Files, or drop your files into the upload area.
- Wait until processing finishes and the uploaded item appears. Close the upload area to browse your library again.
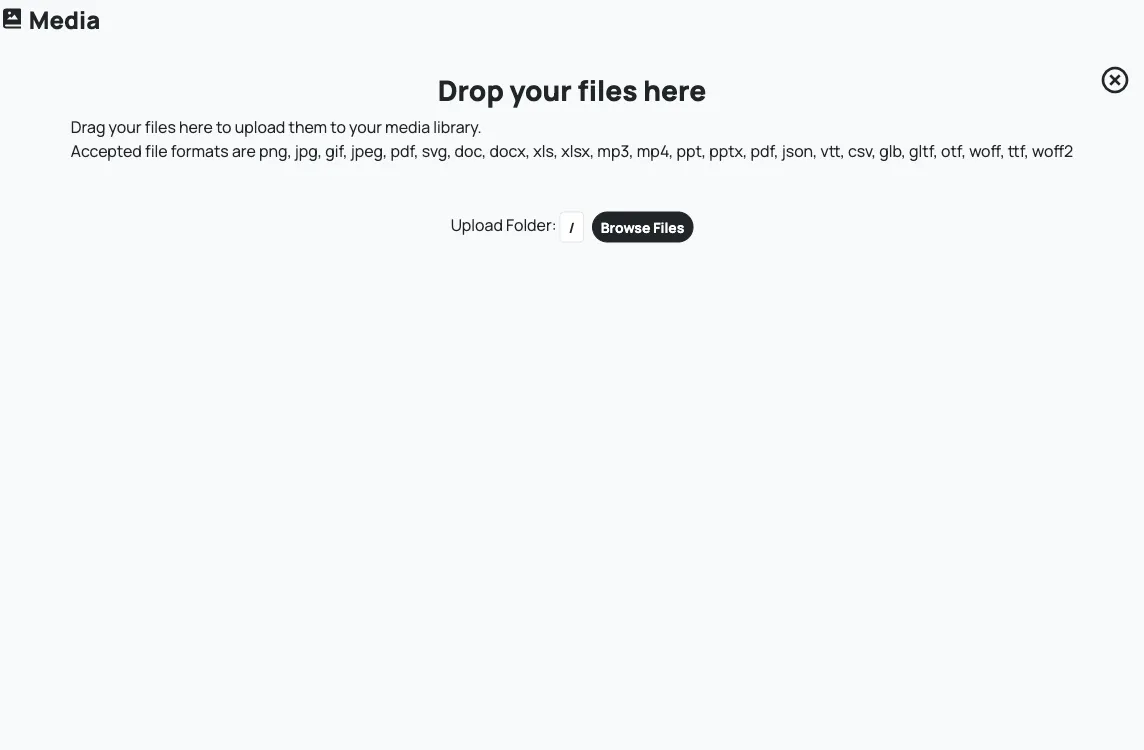
For common scenario media, use PNG, JPG/JPEG or GIF images, MP3 audio and MP4 video. The upload area also lists other asset types; accepting a file does not mean every component can play or display it. Keep files reasonably small and check the library’s storage meter. Storage availability depends on your account; there is no single upload allowance to assume for every plan.
To organise an existing item, open it, select Edit, choose Select Folder, then Update. Moving an item between library folders is different from selecting it for a component.
3. Select media for a component
Section titled “3. Select media for a component”- Open a practice step in the editor.
- Under Add Component → Components, choose Image. Its Media Library picker opens.
- Select your upload folder, then select the image thumbnail.
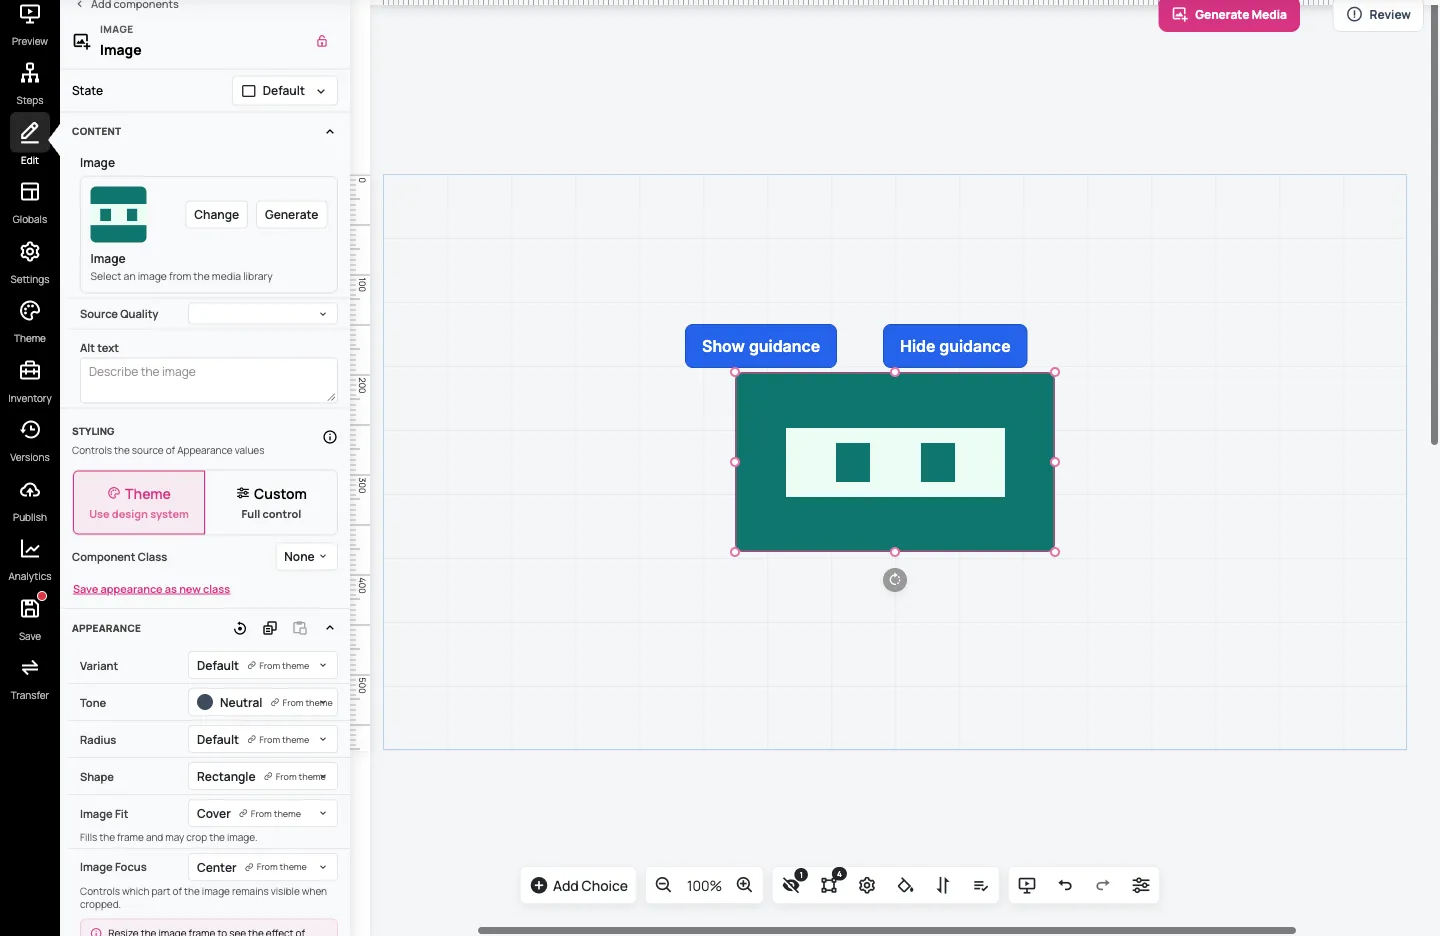
- Check the image on the canvas. Enter useful Alt text in its Content settings and adjust its position and size if needed.
- Select Save, reload and check the component again.
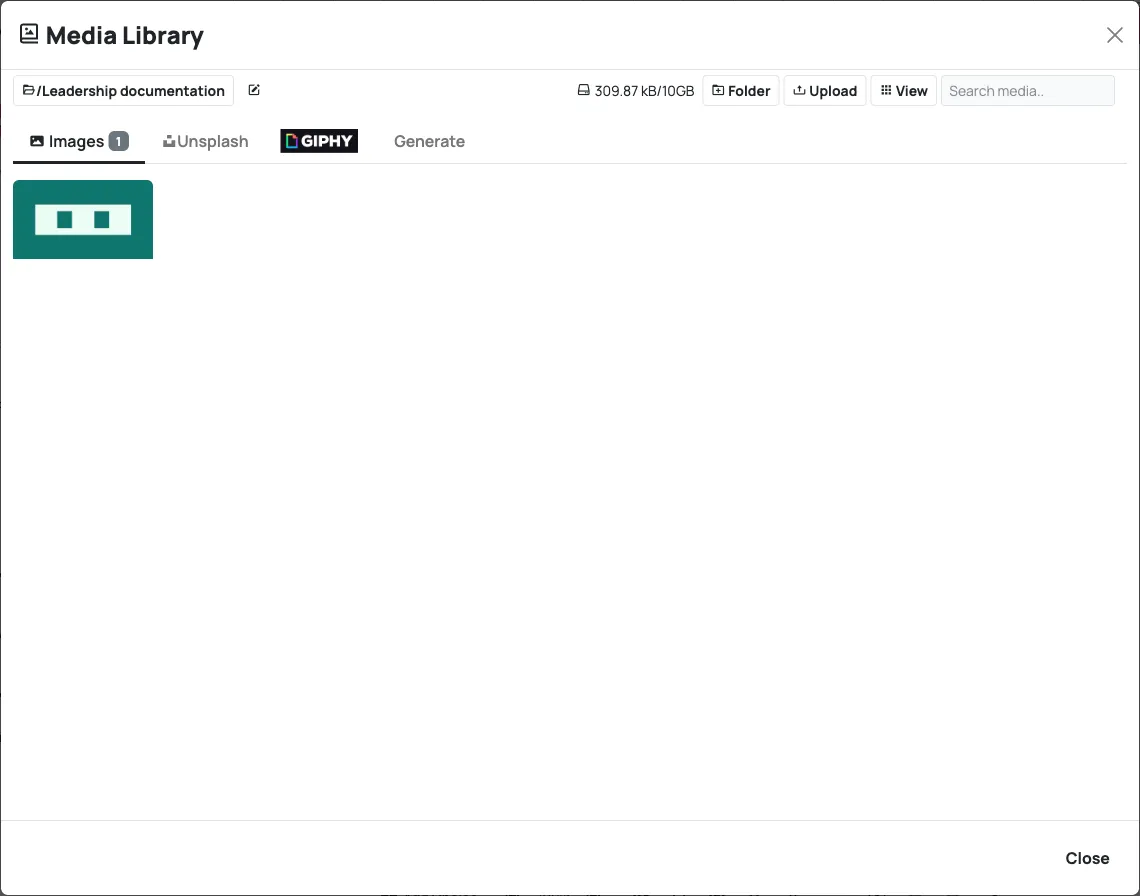
For an Audio component, the initial Add Audio dialog offers Media Library as well as recording. Choose the library to use an existing clip. The selected component’s Change control lets you choose a replacement later. Video components use their own media controls; choose a file appropriate to the component.
4. Reuse or replace an asset
Section titled “4. Reuse or replace an asset”To reuse your image, open another step, add an Image component and select the same thumbnail from the same folder. You do not need another upload.
To replace an image already on a step, select its component and choose Content → Change. Select the replacement in the library, then save and check the result. Replacing this component’s selection is separate from changing every component that uses the original file.
Generated assets can also be kept in the library. See Generate images and audio with AI for the difference between generating a result and adding it to a component.
5. Remove a component without deleting its file
Section titled “5. Remove a component without deleting its file”To remove an Image component from a step, select it, choose Delete component, read the confirmation and select Yes, Delete it. Save the scenario. The library asset remains available for other steps.
Delete in the Media Library is a different operation: it deletes the stored asset. Do not use it simply to remove a picture from one step. Check other scenarios and published work that may still need the file before deleting an asset.
Finish by testing the affected steps, including audio playback, image cropping and small screens.