

Generate images and audio with AI
Use AI media to support the situation learners are exploring. A generated file, a visual review and its placement in a scenario are different things: always check the result in context.
This guide uses a practice copy of First day as a team leader. Keep your approved original separate. Generation requires the relevant account access, available storage and enough of the allowance shown on screen.
Visual Identity: establish references
Section titled “Visual Identity: establish references”- From Steps, select Generate Media → Visual Identity.
- Check Visual style. This affects newly generated images; it does not restyle existing images.
- Read the identified Characters and Locations. Use Edit details to check a name and description. Add character and Add location let you describe a missing reference.
- For a reference you need, check the cost beside Generate Image, then submit once.
- Review the resulting reference image before using it for scene generation. Save your scenario changes.
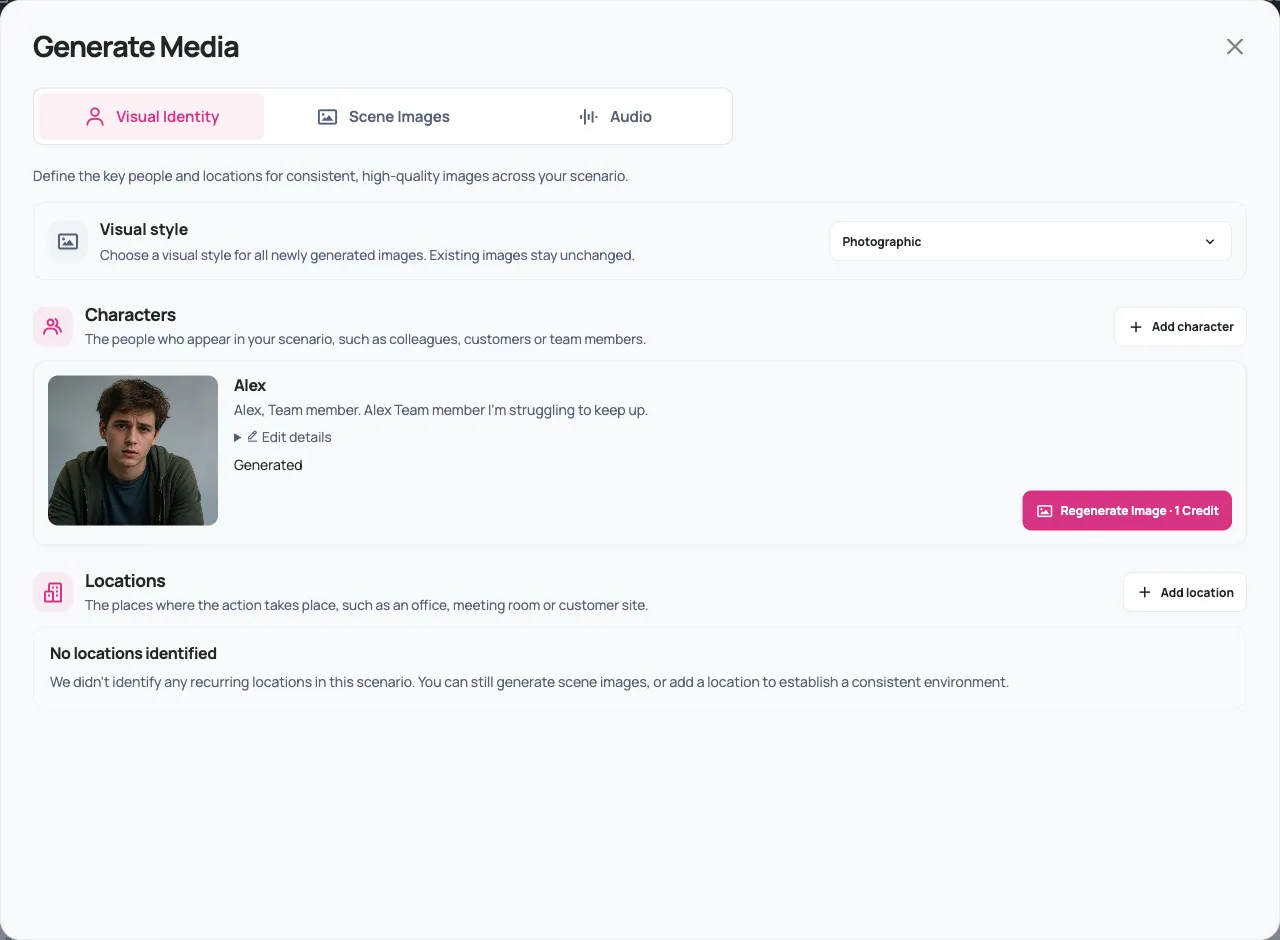
References guide recurring appearance; they do not guarantee perfect character likeness, clothing or setting consistency. Check each scene yourself. A reference image is not a separate approval of the whole scenario, and generating one does not put that portrait on every step.
Scene Images: generate and check a target
Section titled “Scene Images: generate and check a target”- Select Scene Images. Find the step and the particular image target you want. A step can have several targets, including individual choice images.
- Expand Change references. Read the Image prompt and edit it where available. Check each reference’s purpose: Character identity, Location, Visual style or No reference.
- Check the cost on that target’s Generate Image button. Generate one image first so you can assess the direction before considering a batch.
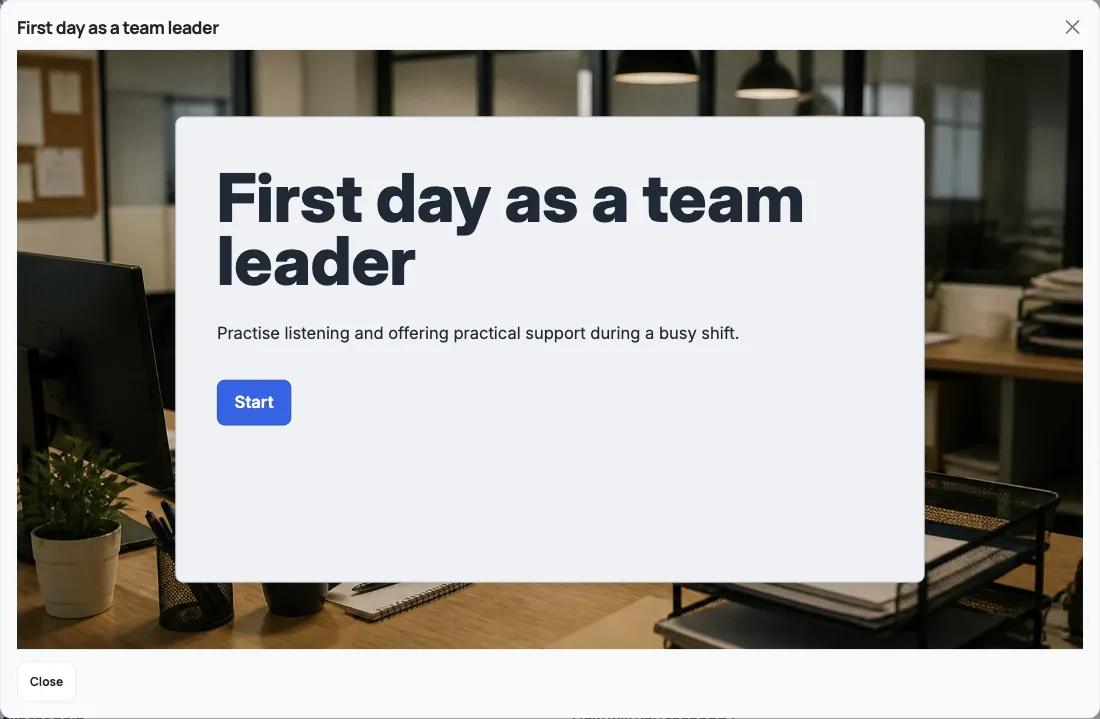
- Wait for the result. The current scene workflow attempts to apply the generated image to its selected target and save it. Check the status and use View Scene to inspect the actual placement.
- Confirm the image fits, the text is readable and no useful content has been covered. Save any later adjustments and preview the affected route.
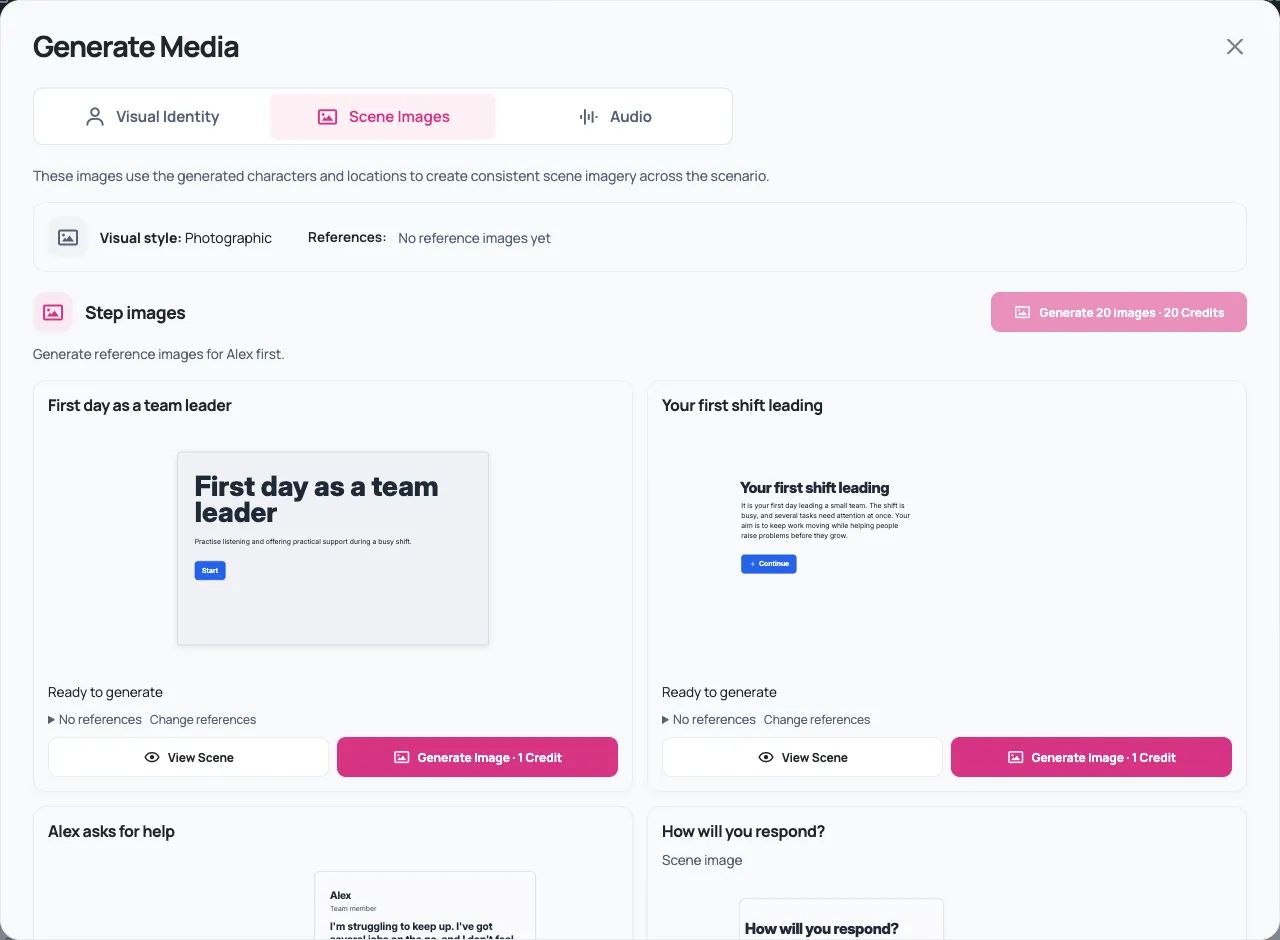
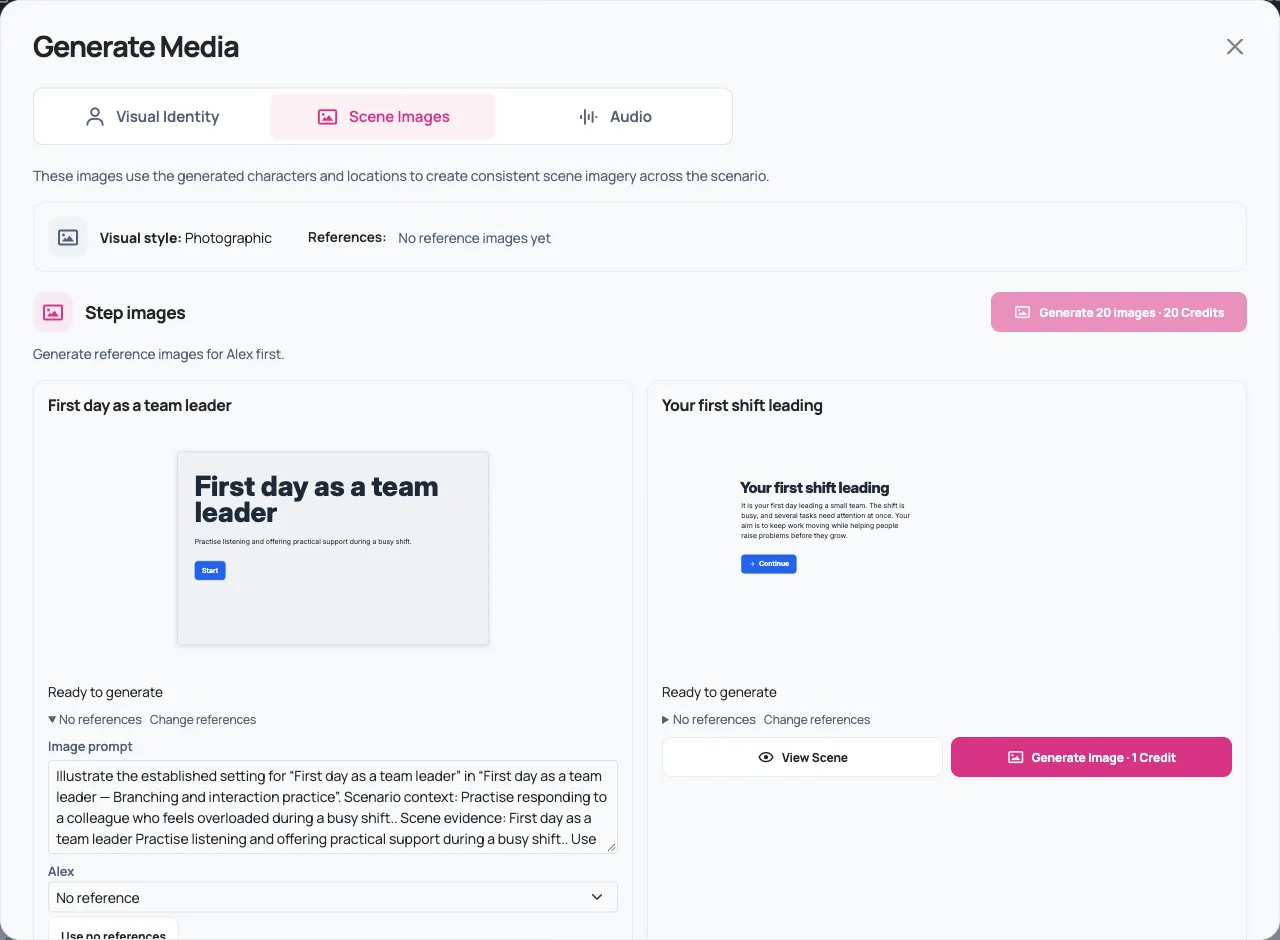
Generate required reference images first when the workflow asks for them. Changing a reference assignment affects future generation, rather than rewriting an existing image. If replacing existing imagery requires confirmation, read it before agreeing. If a target changed while a request was running, check the current scene and its message before trying to apply the result again.
Regenerate Image is another generation operation. To use a file you already have, choose it through the component’s Change control and the Media Library instead.
Audio: review scripts and voice options
Section titled “Audio: review scripts and voice options”For an AI-generated Design System scenario, Generate Media → Audio groups suggested Narration and Character speech by step. Read the proposed script before spending any allowance.
The tab offers Preferred accent, Speaking pace and a Voice choice for each speaker. The accent choices include British English, American English, Australian English and Automatic; pace offers Relaxed, Natural and Brisk. Voice availability can change, so use the choices currently offered. Selected voices stay fixed when the general preference changes.
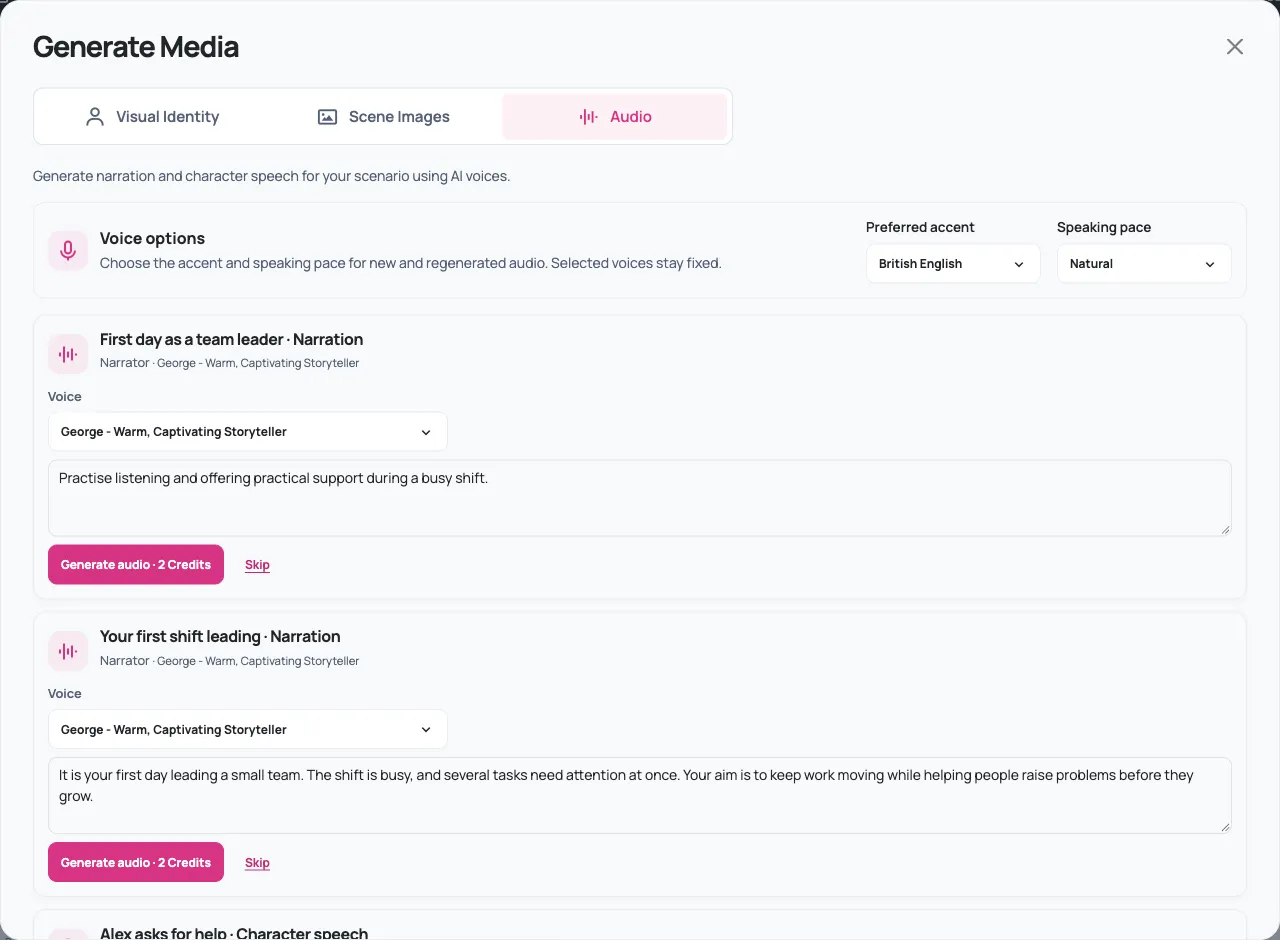
If a scenario-wide audio request cannot be confirmed, use Check result for that request rather than Regenerate audio. If it still cannot be recovered, contact support. For a short clip on a practice copy, the component workflow below provides a separate way to create and review speech.
Component-level generation
Section titled “Component-level generation”The Image and Design System Audio component inspectors expose their own Generate entry points. These open the media picker’s Generate tab for that component, rather than generating all the scenario’s media. Do not assume every image, avatar, background or audio field has this control.
For an image, select an Image component and choose Content → Generate. Describe the image, inspect Dimensions and Quality, and check the price. An optional reference accepts one PNG or JPEG up to the size stated in the form. It guides a new image; the reference itself stays unchanged.
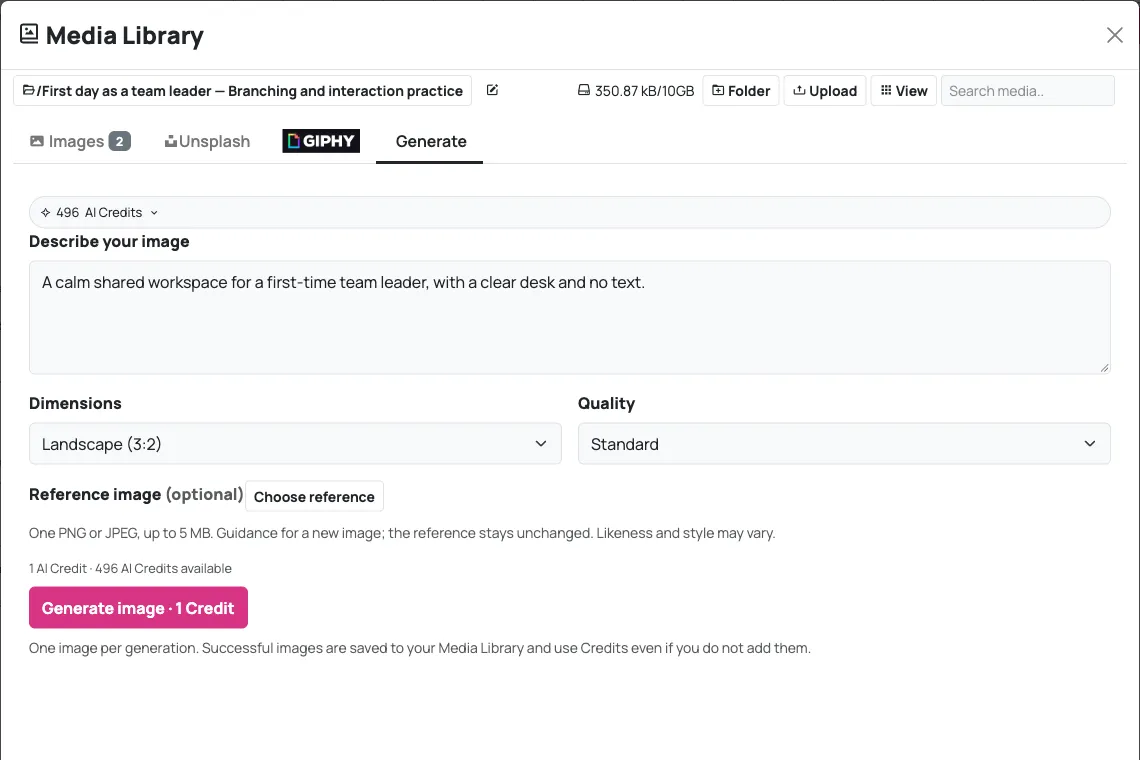
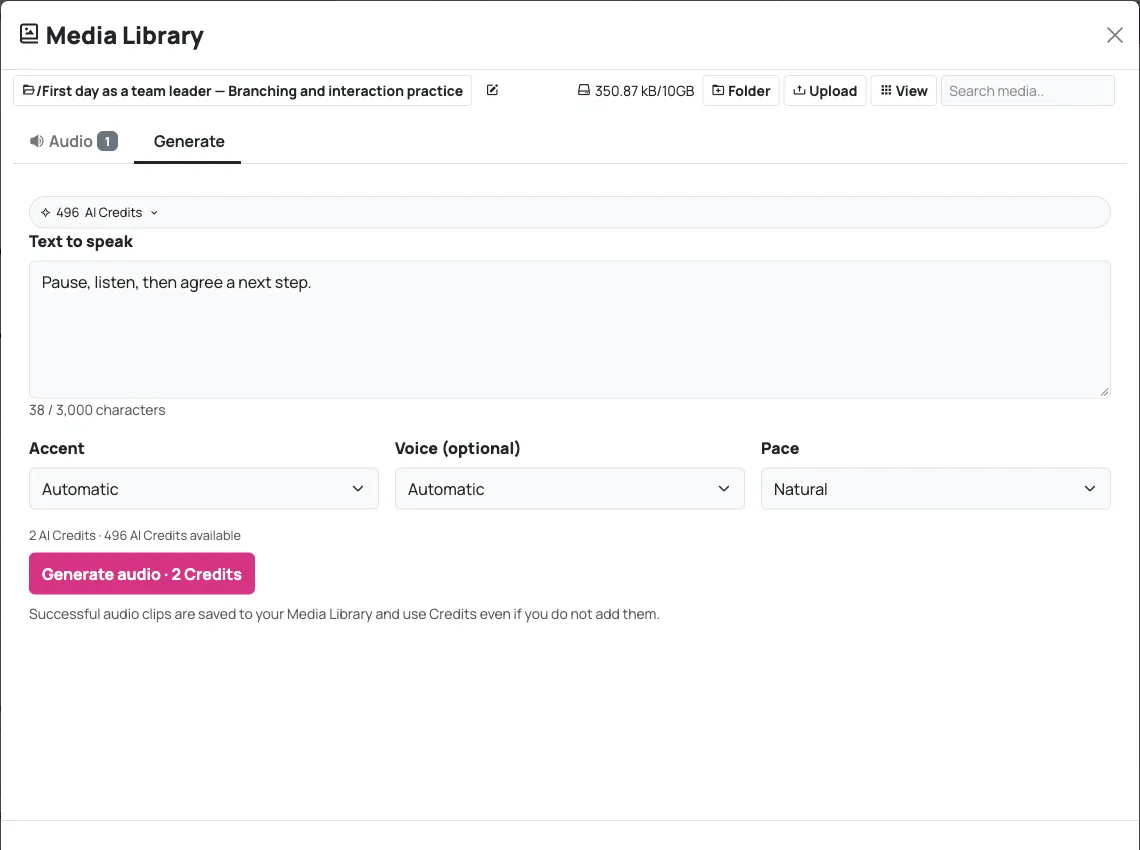
To create a short speech clip:
- Select an Audio component. If you have just added one, close the initial Add Audio dialog with its close button to return to its inspector.
- Choose Content → Generate.
- Enter Text to speak, then inspect Accent, Voice (optional) and Pace. These are the component form’s own choices; they can differ from the scenario-wide Audio tab. The form explains the Irish accent’s British-voice fallback.
- Read the displayed cost and select Generate audio once.
- When the audio is ready, use its player to listen. It is already saved to the Media Library, but is not yet selected for this component.
- Choose Add Audio, then Save the scenario. Reload and preview the step.
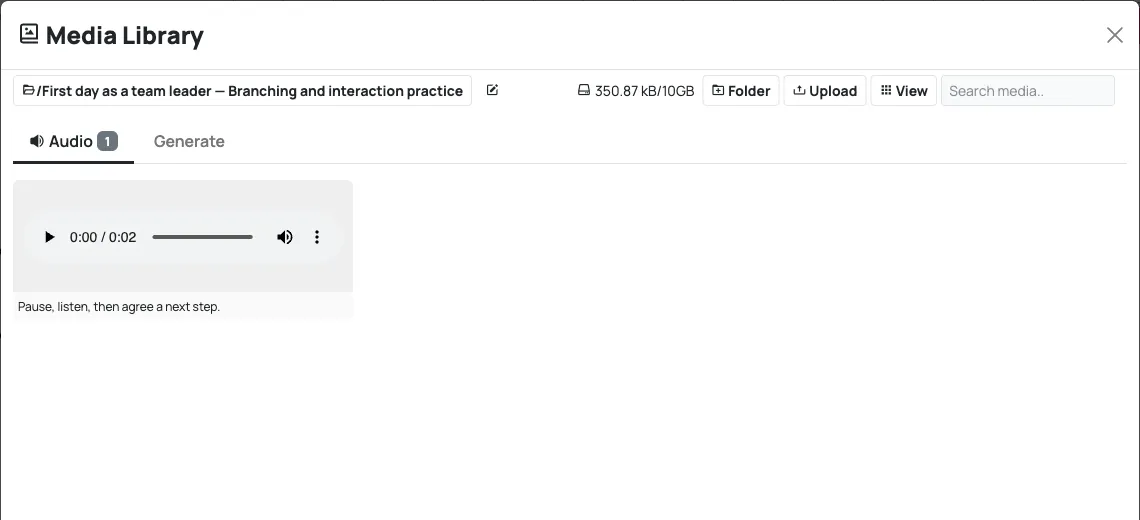
Browser autoplay rules can prevent speech starting without a learner gesture. Check playback from a fresh run, including after Start or another learner interaction; do not rely on autoplay alone to communicate essential content.
Costs, retained results and recovery
Section titled “Costs, retained results and recovery”Check the unit and cost on each request. Depending on your entitlements, text operations may use legacy AI Actions, while image and speech operations use AI Credits where enabled. Your allowance panel explains the balance and pending reservations. Successful media can consume Credits even if you decide not to add it.
If a component request is pending or uncertain, reopen the same picker in the same account and browser and use Check result when offered. Continue generation refers to a retained request that has not been dispatched. Scene-image Retry can recover a retained result or retry saving; read the status first. Do not start another generation merely because the first result took longer than expected.
Retained assets can be selected again through the Media Library without generating them again. Always test the resulting scene before publishing.