

Create a scenario from scratch
Prefer to start with your own writing? Build a small scenario one step at a time. You’ll use the same Design System tools available when editing an AI-generated draft.
You’ll create the opening of First day as a team leader: a Welcome step, The situation, and a Start button connecting them. You won’t need AI generation or new media for this exercise.
1. Create your scenario
Section titled “1. Create your scenario”On an empty dashboard, select Create a scenario under Start from scratch. If you already have scenarios, select New Scenario.
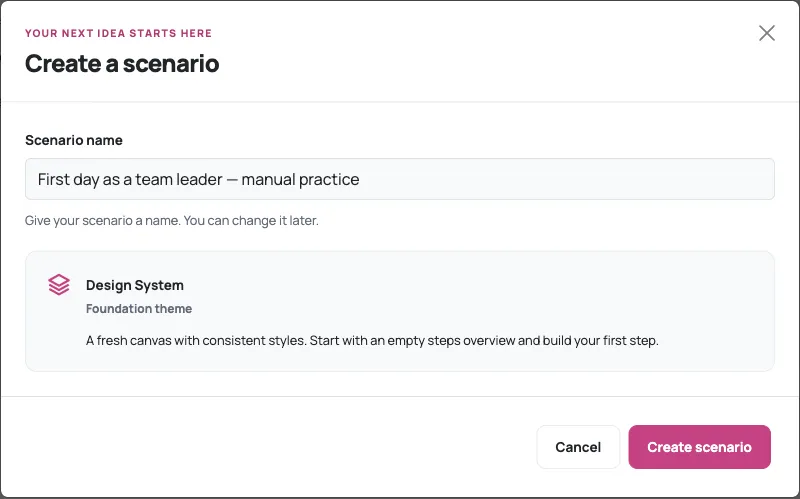
Enter First day as a team leader — manual practice in Scenario name. Check that the dialog shows Design System and Foundation theme, then select Create scenario.
2. Add your first step
Section titled “2. Add your first step”In the steps overview, select Add step. Replace Untitled step with Welcome in Step title, then select Add step in the dialog.
Use the step’s Edit this step control to open its canvas. The step title helps you organise your scenario; the text learners read is edited on the canvas.
3. Insert a layout
Section titled “3. Insert a layout”In Add Component, select Presets, then Browse all presets. In Preset Manager, choose Built-in and Layouts. Select Centered Content, then Insert to return to the canvas.
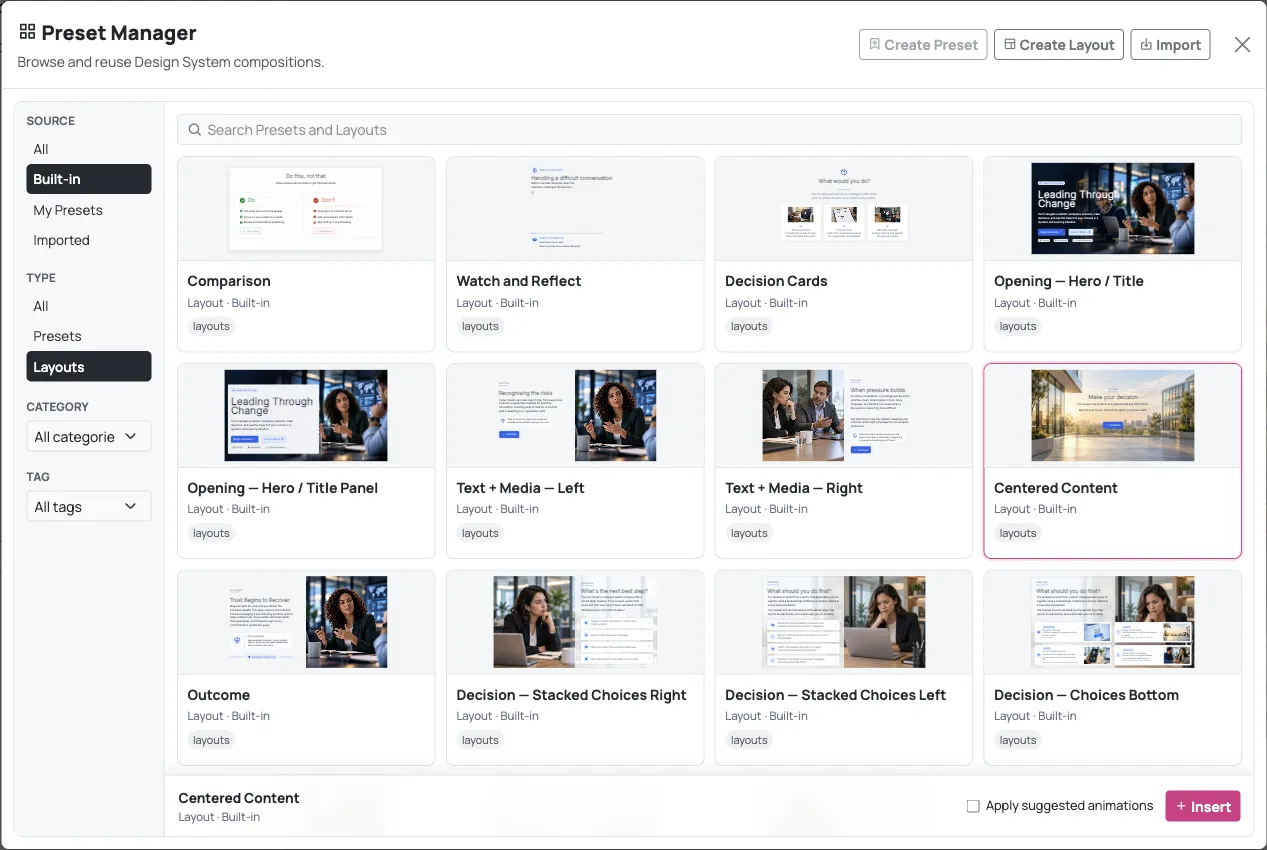
This layout supplies sample text, a background image and a Continue button. You’ll replace the text and add your own navigation. Use it on the empty step so you don’t need to replace existing content.
4. Write your welcome
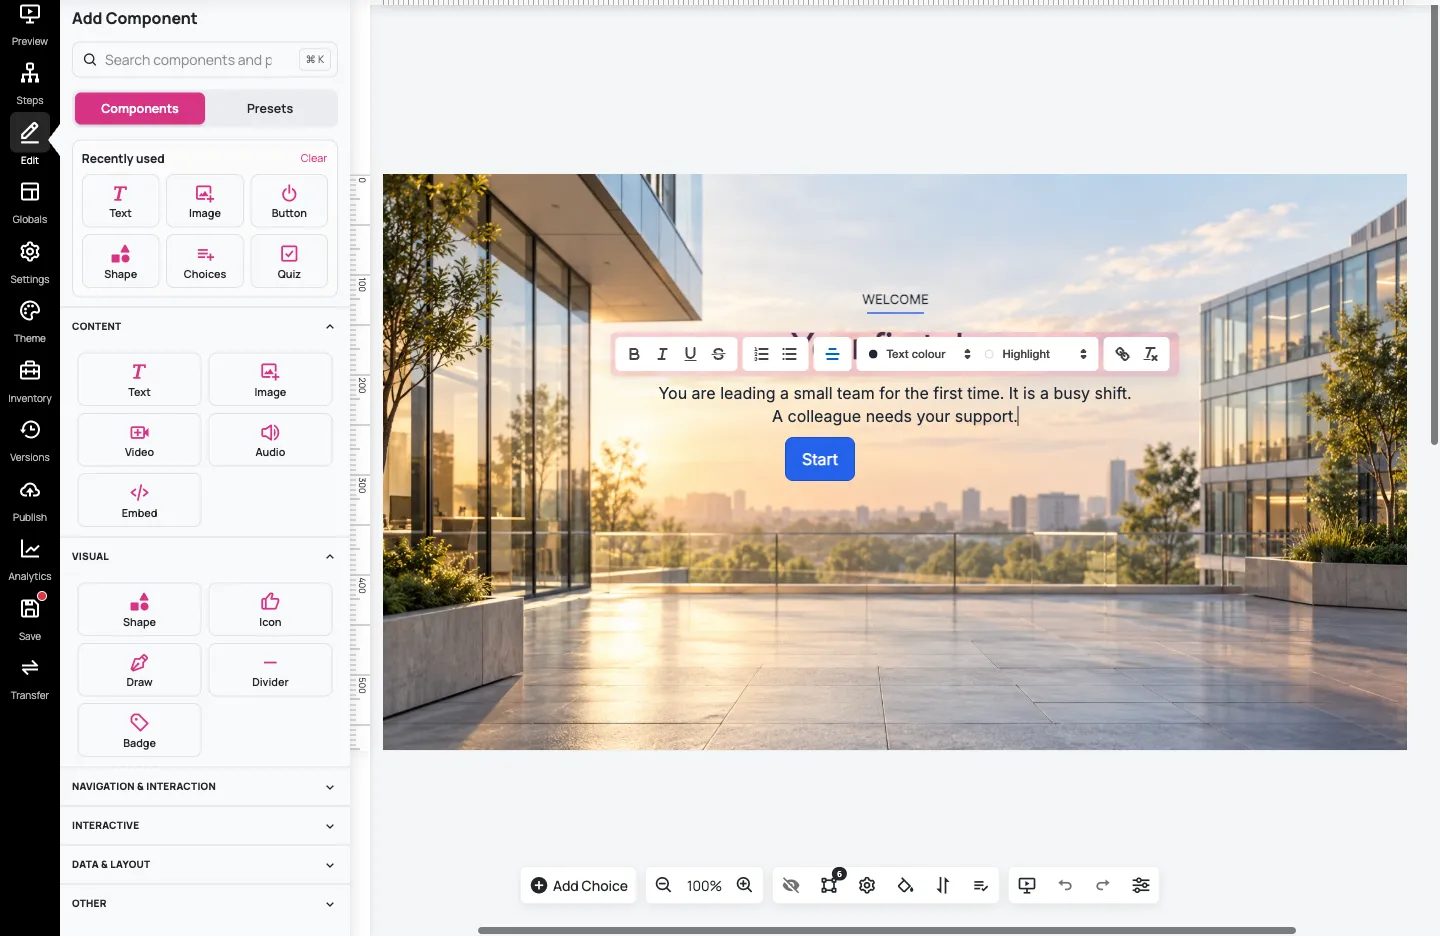
Section titled “4. Write your welcome”Double-click each text component to edit it. Replace the small SECTION label with WELCOME, the heading with Your first day, and the body with:
You are leading a small team for the first time. It is a busy shift. A colleague needs your support.
Keep the copy short enough to fit the layout. Click outside the text when you’ve finished editing.
Select the layout’s sample Continue button, choose Delete component and confirm Yes, Delete it. You’ll create a Start button after adding the destination step. Select Save.
5. Add the situation
Section titled “5. Add the situation”Select Steps to return to the overview. Add another step named The situation, then open Edit this step.
Insert Centered Content on this empty step too. Replace its small label with A COLLEAGUE, its heading with Alex needs a moment, and its body with:
Alex says, “I’m struggling to keep up today. Everything seems urgent, and I don’t feel supported.” What will you say?
Delete the sample Continue button from this step as well. Select Save, then return to Steps.
6. Connect the steps
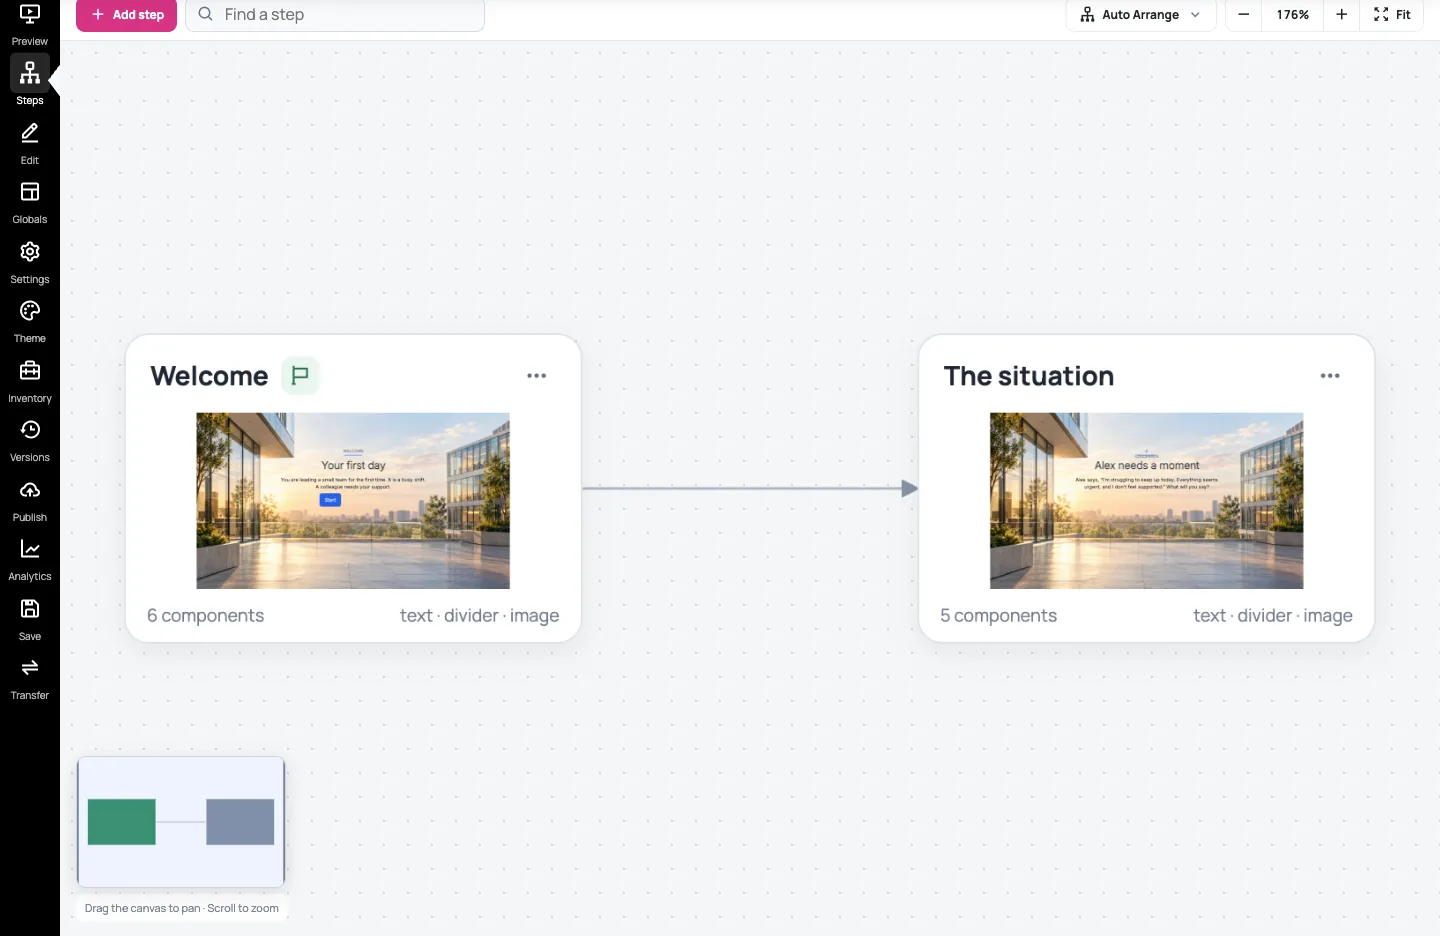
Section titled “6. Connect the steps”On Welcome, select Add branch. Choose + Add new Button, then Continue. Enter Start as the Button label, select Choose destination, then select The situation step.
This creates a learner-facing button and its destination. Moving steps next to each other does not connect them.
Welcome should show the start flag. If it doesn’t, open its Step actions menu and choose Set as start. To tidy the map, choose Auto Arrange → Left to right, confirm Auto Arrange, then select Fit.
7. Preview your opening
Section titled “7. Preview your opening”On Welcome, select Preview from here. Read the introduction, then select Start. Check that it opens The situation and that Alex’s message is readable. Use Screen size in the preview toolbar to check another display size.
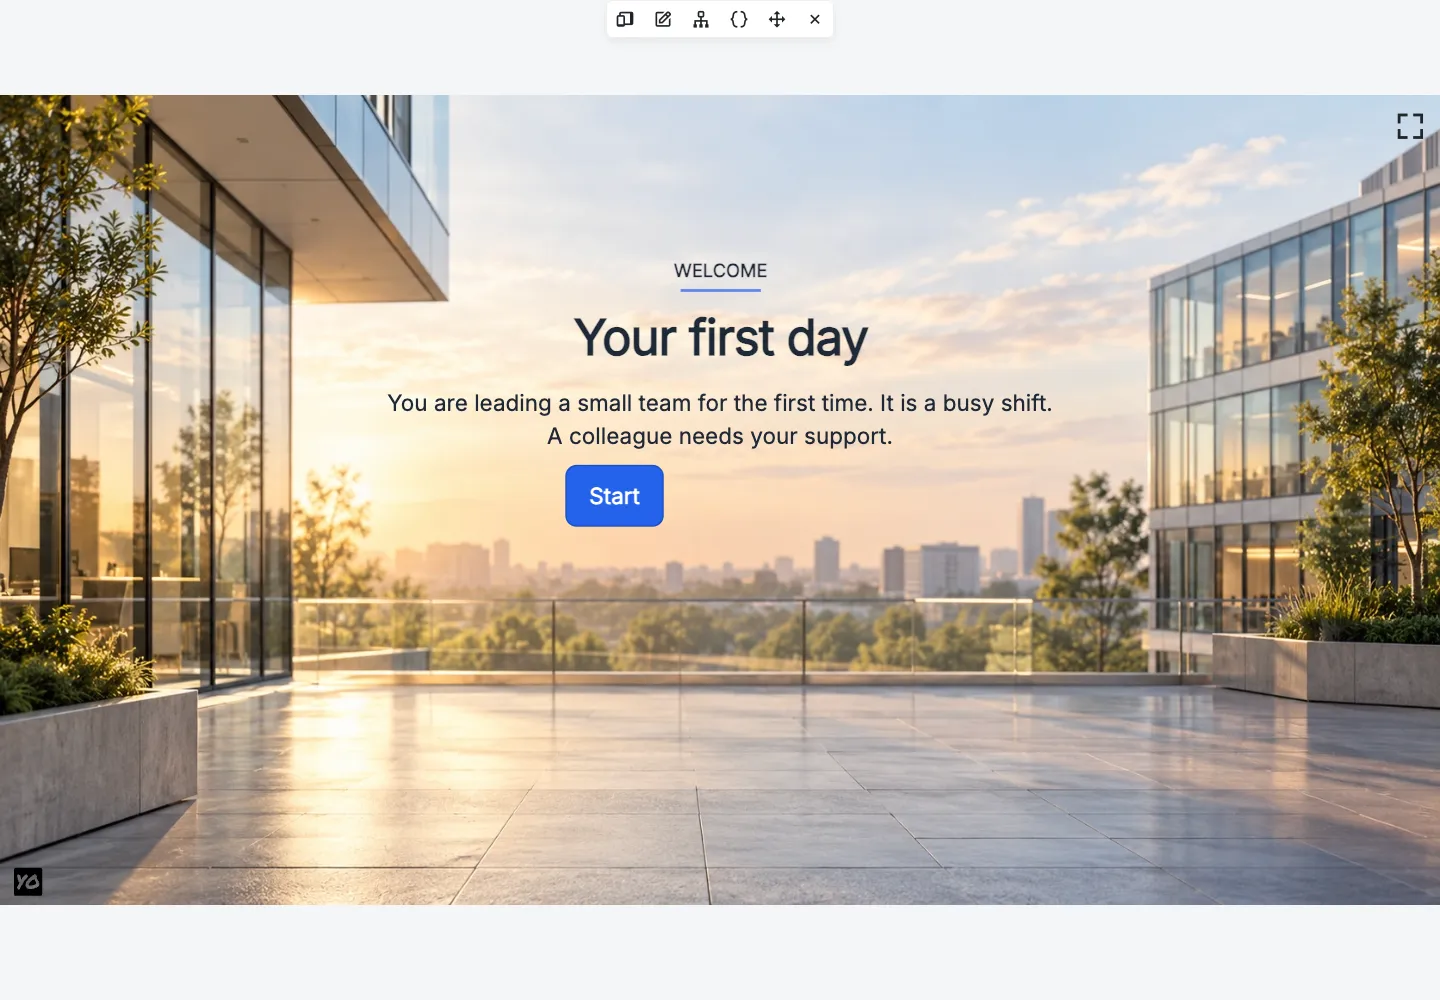
You’ve built and connected two steps. This exercise stops at the situation; next you can add a decision, consequences and a reflection.
What to do next
Section titled “What to do next”Next, arrange a step with layouts and components, edit component content and appearance or customise and reuse a theme. Continue with Add steps and connect decisions and Test every path before sharing.
To start with a generated draft instead, follow Create your first scenario with AI, then review, edit and preview the result.